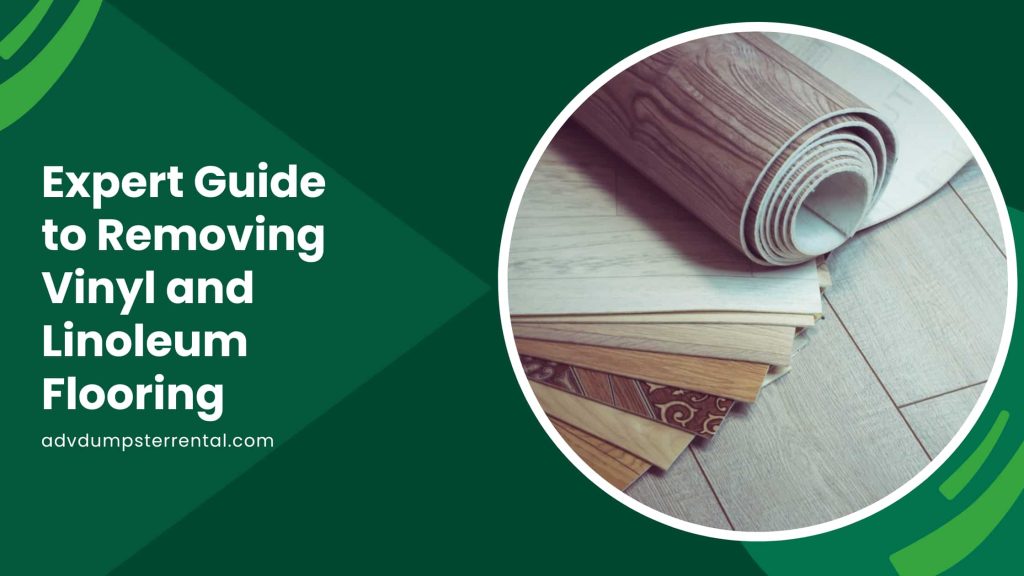
Vinyl and linoleum flooring can be excellent options for areas with heavy use, such as kitchens or bathrooms. However, trends and personal preferences change, and what might have been a stylish and practical choice a few years back could now be cramping your interior design vision.
Understanding how to remove these resilient flooring materials is crucial for any DIY enthusiast embarking on a home improvement journey. This guide will walk you through the process step by step, ensuring you achieve a satisfying result and mitigate any potential hazards or pitfalls along the way.
Importance of Proper Flooring Removal
Understanding why the task must be carried out properly before we delve into the nitty-gritty of floor removal. Incorrect removal techniques risk damage to the subfloor and can lead to safety concerns for you and your household.
Moreover, a poorly executed removal job can significantly prolong the replacement process. In contrast, taking the time to do it right will set the stage for a new aesthetically pleasing and structurally sound floor.
Step 1: Assessing the Flooring
Assessment is the first and most important step in removing vinyl or linoleum flooring. You must know what you’re dealing with; sometimes, it could be hazardous.
- Identifying the Type of Flooring: Vinyl and linoleum floors are not always easy to distinguish visually. Linoleum has a natural linseed oil base, while vinyl is entirely synthetic, often featuring a glossy top layer. However, both can have similar appearances. If your old linoleum could contain asbestos, changing your removal process entirely. Seek professional testing if you’re unsure.
- Checking for Asbestos or Other Hazardous Materials: Asbestos was commonly used in construction until the 1970s, often as a flooring backing. Asbestos removal and disposal require professional assistance. If you suspect your flooring contains asbestos, it is paramount to halt DIY processes and contact an expert for proper testing and removal procedures.
Step 2: Gathering the Tools and Materials
The right tools and equipment are as crucial as knowing the correct steps. This phase is about preparation and safety.
- Essential Tools and Safety Equipment: A utility knife, putty knife, and heat gun are must-haves for any flooring removal. Safety glasses and gloves are non-negotiable, and a respirator is necessary if asbestos is a potential concern. A heavy-duty trash bag also comes in handy for waste containment.
- Recommended Materials for the Removal Process: You’ll need adhesive removers if the flooring is secured with glue, a flooring scraper and protective sheeting for any adjacent surfaces. Additionally, having a high-quality dumpster service ready for a large amount of waste material is a strategic move that will keep your project area clean.
Step 3: Preparing the Area
Proper preparation ensures the removal process is smooth and your home remains tidy and unscathed.
- Clearing the Room of Furniture and Obstacles: This step requires significant effort and possibly some muscle. Remove all furniture and any other item that could impede the removal process. Ensure there’s nothing remaining that could create a tripping hazard.
- Protecting Adjacent Surfaces and Belongings: Just as you cleared the room of furniture, protect the surrounding areas from any potential damage or mess. A layer of plywood can shield wooden floors, and plastic sheeting can keep dust and debris in the work area.
Step 4: Removing the Flooring
You can begin removing the floor with the assessment and preparation out of the way. Here’s what you need to know about taking up vinyl or linoleum flooring:
- Techniques for Vinyl Flooring Removal: Cutting the vinyl into strips with a utility knife can speed up the removal. Use a floor scraper to pry the strips, starting in a corner. If the adhesive is being stubborn, a heat gun can help soften it for easier removal.
- Techniques for Linoleum Flooring Removal: Without adhesive, linoleum can often be peeled away in full sheets. When adhesives are present, a heat gun or solvents may be necessary. Always start in a corner and lift slowly to reduce the risk of tearing.
Step 5: Dealing with Adhesives and Residue
One of the most tedious parts of resilient flooring removal is the remnants left behind. Here’s how to tackle them:
- Methods for Adhesive Removal: Adhesive removers can be solvent-based or water-based, and both have their benefits. Apply the remover to the adhesive, let it sit according to the product’s instructions, and scrape away the softened glue.
- Tips for Removing Stubborn Residue: You might need to resort to mechanical removal for adhesive that refuses to budge. A wide chisel or sharp putty knife can be effective, but be cautious not to gouge the subfloor. An alternative approach is to pour boiling water on the affected area or use a steam cleaner to soften the adhesive, making it easier to scrape away.
Step 6: Cleaning and Preparing for New Flooring
With the old flooring and adhesives removed, you’re left with a subfloor that likely needs a thorough cleaning.
- Thoroughly Cleaning the Subfloor: Sweep and vacuum the subfloor to remove all loose debris. Then, give the area a good wash with a mild detergent and water to ensure it’s free of any organic material that could cause issues with your new flooring’s installation.
- Preparing the Subfloor for New Flooring Installation: Inspect the subfloor for any damage that may have occurred during the removal process. Any necessary repairs should be made before installation. If installing a new resilient floor, ensure the subfloor is smooth, level, and completely dry.
- Using ADV Dumpster Rental for Efficient Disposal: The waste from your removal project can be substantial and inconvenient, so utilizing a reliable dumpster rental service like ADV can be a game-changer. We offer a range of dumpster sizes to suit various project capacities, and their prompt and affordable service removes the hassle of debris disposal.
Conclusion
Properly removing vinyl and linoleum floors is a process that requires patience, preparation, and the right tools. By following this expert guide, you’ll achieve a successful removal and be well-prepared to tackle the installation of your new floor. Remember, safety and thoroughness should always be your top priorities. And, don’t overlook the importance of responsible waste management—opt for a dumpster service like ADV to make the disposal process smooth and efficient.
Incorporating these steps and tips into your approach will ensure a successful and smooth vinyl or linoleum flooring removal. Now, it’s time to roll up your sleeves and transform that space!


